Machine vision evaluates surface roughness
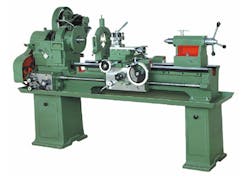
Researchers at the School of Mechanical and Building Sciences at VIT University (Tamilnadu, India) have developed a machine vision system for evaluating the surface roughness of turned components.
The system uses a CCD camera mounted on top of a specimen which is backlit with a diffuse backlight below it. After the images have been captured and stored in a computer they are then processed using Matlab software to produce a value of surface roughness.
When the surface roughness values obtained by the image processing technique were compared with a conventional stylus probe method, the vision system was shown to give equivalent results.
The researchers say that since the method does not need to make contact with the part being measured, it can be used for in-process inspection of components without damaging the machined surfaces.
A technical paper detailing the system was published in the European Journal of Scientific Research. It can be found here.
-- by Dave Wilson, Senior Editor, Vision Systems Design
